Overview
This page explains how to use the Pico board's USB host functionality to connect USB keyboards and mice. When you can connect major input devices to the Pico, it becomes a truly standalone microcontroller—very fun! This article also covers how to add keyboard and mouse input to the LVGL GUI toolkit.
About Pico's USB Host Functionality
When working with the Pico, you often need button input. You could place tact switches on a breadboard, but the feel isn't great, and connection issues can cause stress during development. More importantly, it consumes a lot of precious GPIO pins, which is wasteful.
This is where the Pico's USB host interface comes in handy. As you might guess from the connector shape, the Pico is usually used as a USB device connected to a PC, but it can also function as a USB host. This means you can connect widely available PC USB peripherals to the Pico by writing the appropriate driver software.
Among the many USB peripherals, keyboards and mice are especially affordable and come in many varieties. Even wireless types with both keyboard and mouse can be purchased for around 2,000 yen.
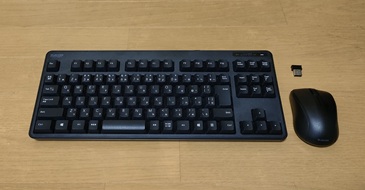
This greatly improves usability compared to tact switches, and with wireless types, you can even operate the Pico remotely, expanding your project possibilities.
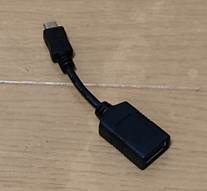
Note that the Pico uses a microB USB connector, so to use it as a host, you'll need an OTG adapter to convert to A type. These are available for about 400 yen.
For USB operations, pico-jxglib uses the tinyusb library, which is included with the Pico SDK. The tinyusb directory contains a sample for USB host functionality at tinyusb/examples/host/cdc_msc_hid, which was used as a reference to implement a more convenient API for keyboards and mice in pico-jxglib.