Setting Up pico-jxgLABO
The shell is implemented in the jxglib_Shell library. Linking this library or other libraries that depend on it, such as jxglib_LABOPlatform, will make the shell available in your firmware.
Here, we will use pico-jxgLABO, a ready-to-flash UF2 Binary that links jxglib_LABOPlatform, as an example to demonstrate how to use the shell and its commands. It uses the USB serial interface for the shell, so you can easily try it with a single USB cable.
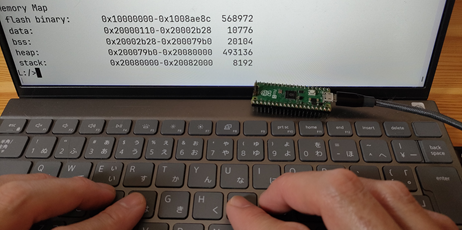
Below is a list of pico-jxgLABO UF2 files:
| CPU | Normal | Wi-Fi Capable |
|---|---|---|
| Raspberry Pi Pico | pico-jxgLABO.uf2 | pico-w-jxgLABO.uf2 |
| Raspberry Pi Pico2 | pico2-jxgLABO.uf2 | pico2-w-jxgLABO.uf2 |
These UF2 files are pre-compiled with the latest version of pico-jxglib and can be flashed to your Pico board using the standard UF2 flashing method.
Flash UF2 Binary File to Pico Board
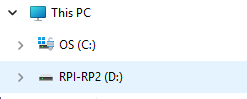
Connect a Pico board to a host PC using a USB cable while holding BOOTSEL button, and you will see a drive like follows:
-
Pico (RP2040)
-
Pico2 (RP2350)
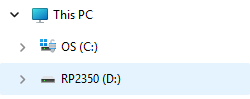
Copy a UF2 file to this drive. No need to care about the destination directory.
Go to this page if you are interested in the details of how to build your own firmware with the shell.
After flashing the pico-jxgLABO, establish a serial communication with a terminal program such as Tera Term on Windows.
Setup Tera Term for LABOPlatform
Tera Term is available here.
From the menu bar, select [File] - [New Connection...] to open the dialog below:
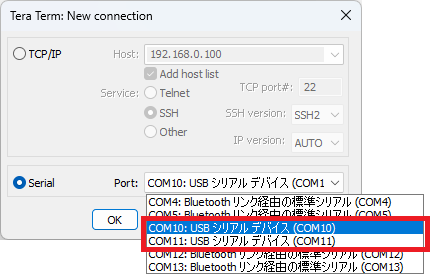
pico-jxgLABO or a firmware that links jxglib_LABOPlatform provides two USB serial ports: one for terminal use and the other for applications such as logic analyzers and plotters. Select one of the ports and press Enter key in the terminal. When successfully connected, you will see a prompt in the terminal.