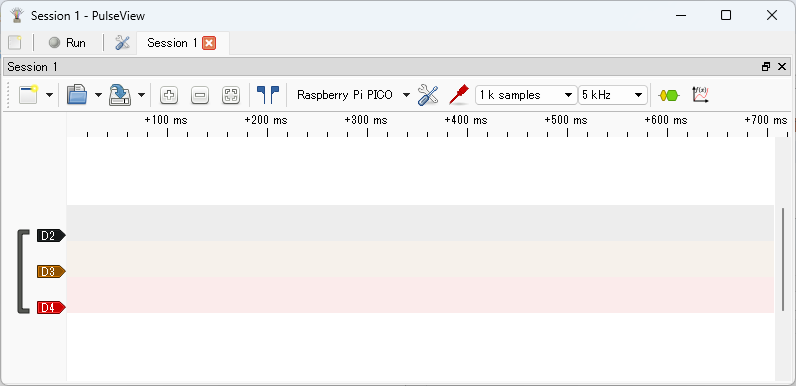
Connect to Pico Board
Follow these steps to connect pico-jxgLABO and PulseView:
- Connect the Pico board with pico-jxgLABO flashed to your PC using a USB cable.
- In Tera Term, run the pico-jxgLABO logic analyzer command
laand specify the GPIO pins to measure. In the example below, GPIO2, GPIO3, and GPIO4 are selected: - Start PulseView. One of the following main screens will appear:
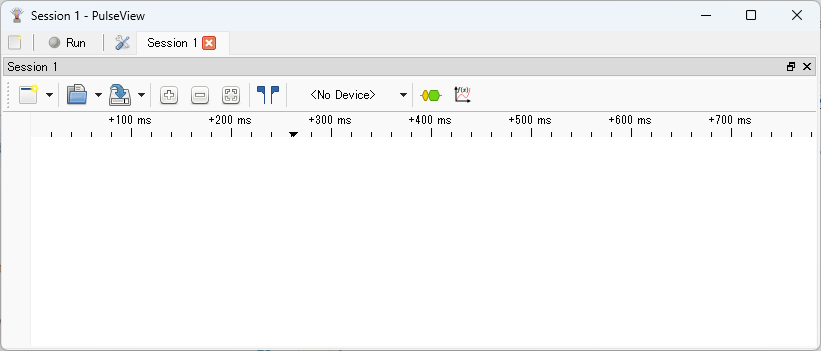
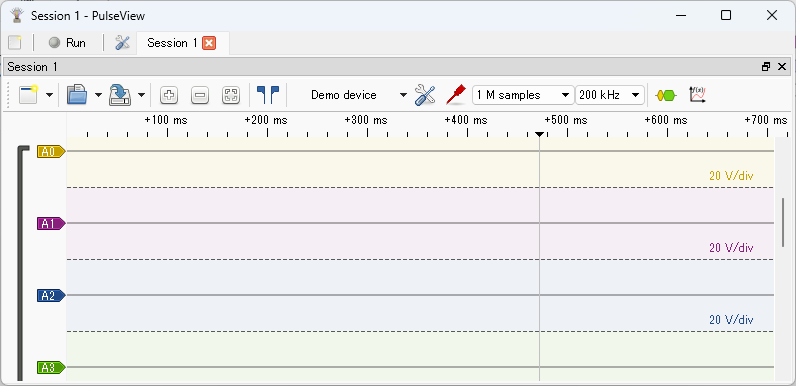
Click the area labeled <No Device> or Demo device to open the "Connect to Device" dialog.
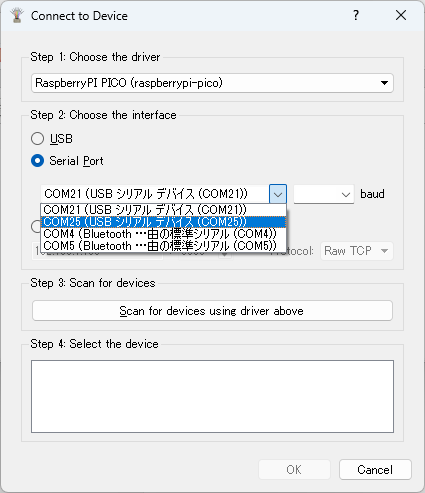
5. In Step 1: Choose the driver, select RaspberryPI PICO (raspberrypi-pico) from the dropdown list.
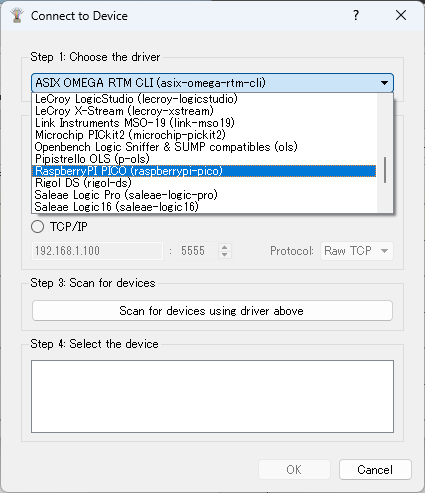 6. In
6. In Step 2: Choose the interface, select Serial Port and specify the application serial port noted in step 2. Leave the baud rate blank.
 7. In
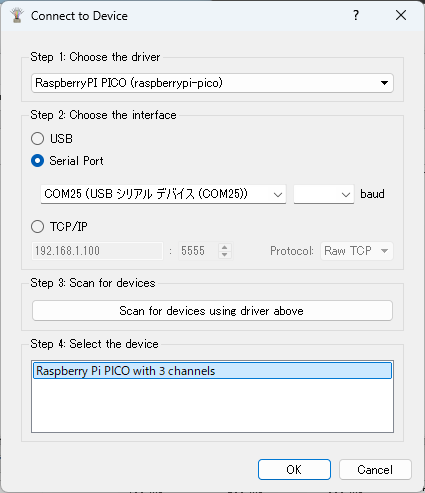
7. In Step 3: Scan for devices, click the Scan for devices using driver above button. In the list for Step 4: Select the device, confirm that RaspberryPi PICO with 3 channels appears and click OK.
 8. The main screen will look like this: